

How to Plan a DIY Tour That Doesn’t Lose Money
Learn how to plan a DIY tour by building a sensible route, creating a realistic tour budget, confirming fair show terms, and tracking every expense on the road.
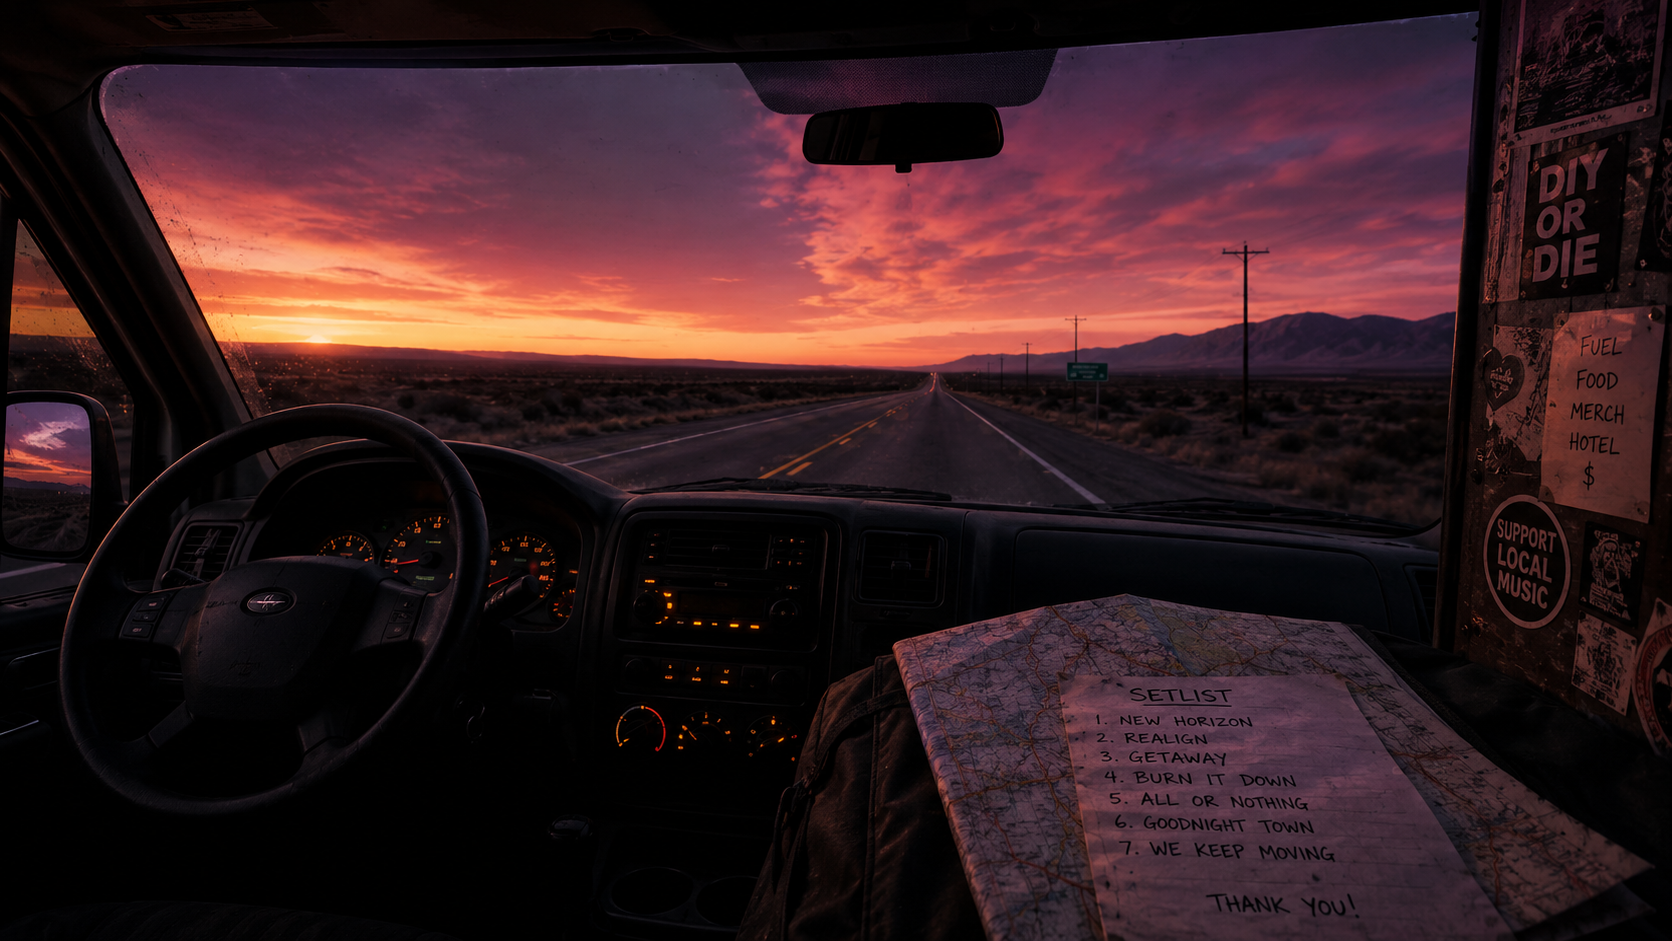
A DIY tour can help your band reach new listeners, build relationships with venues, and grow outside your local scene. It can also become expensive very quickly if the route, guarantees, and daily costs are not planned properly.
Learning how to plan a DIY tour is not only about booking several gigs. You need to connect those dates into a practical route and understand how much money the band must earn to cover fuel, accommodation, food, and other costs.
This guide explains the main steps of DIY tour planning so your band can spend less time driving, avoid unnecessary expenses, and give the tour a better chance of breaking even.
Start With a Clear Tour Goal
Before contacting venues, decide what the tour is meant to achieve.
Your goal might be to:
- Promote a new single, EP, or album
- Reach audiences in nearby cities
- Build relationships with promoters
- Test new markets before planning a longer tour
- Support a larger band for several dates
- Play a festival connected to other shows
Your goal will affect the length of the tour, the cities you choose, and how much financial risk makes sense.
For a first tour, a short run of three to five dates is often more manageable than trying to book two weeks of shows immediately.
Step 1: Choose a Realistic Tour Area
Start by choosing a region your band can realistically cover.
For example, instead of selecting cities across an entire country, begin with a group of locations that are reasonably close together.
Think about:
- Where your listeners are located
- Where similar bands regularly play
- Which cities have suitable venues
- How far your band can comfortably travel each day
- Whether the route allows you to return home without a major detour
A smaller, well-planned route is usually better than a longer tour filled with difficult drives and weak dates.
Step 2: Route the Tour Geographically
Routing a small band tour correctly is one of the easiest ways to reduce fuel costs and exhaustion.
Your dates should follow a logical geographical order. Avoid travelling east for one show, driving back west the following day, and then returning east again.
A simple route might look like this:
- Home city
- Nearby city to the north
- Next city along the same direction
- City that begins the return route
- Final show closer to home
Try to create a loop rather than a route that repeatedly crosses the same area.
Check the Drive Between Every Show
Before confirming a date, check:
- Total distance
- Estimated drive time
- Fuel cost
- Tolls
- Parking restrictions
- Load-in time at the next venue
A drive that looks manageable on a map may become difficult when the band finishes a show after midnight and needs to load in early the next day.
Avoid Long Drives Before Important Shows
If possible, do not schedule your longest drive before the most important date of the tour.
A five-hour journey can easily become seven hours because of traffic, food stops, roadworks, or problems with the van. Give the band enough time to arrive, rest, eat, and set up properly.
Use Days Off Carefully
A day without a show may reduce pressure, but it still costs money. You may need to pay for food, fuel, parking, and accommodation without earning anything that day.
When adding a day off, ask whether it helps the route or simply creates another day of expenses.
Step 3: Build a Realistic Tour Budget
A tour budget should be created before the first date is confirmed.
Start with the costs you already expect, then add a small emergency reserve. Do not assume every show will sell well or that merchandise sales will cover the difference.
Main DIY Tour Expenses
Your budget should include:
- Fuel
- Tolls
- Van rental, if required
- Parking
- Accommodation
- Food and water
- Merchandise production
- Equipment repairs or replacements
- Insurance
- Emergency money
It is better to estimate slightly higher costs than to build the budget around the cheapest possible outcome.
How to Estimate Fuel Costs
To estimate fuel, you need:
- The total tour distance
- The van’s average fuel consumption
- The expected fuel price
A simple calculation is:
Total kilometres ÷ 100 × litres used per 100 kilometres × fuel price
For example, imagine the route covers 1,200 kilometres, the van uses 9 litres per 100 kilometres, and fuel costs €1.80 per litre:
1,200 ÷ 100 × 9 × €1.80 = €194.40
Add a small buffer because the actual route may include diversions, city driving, parking searches, or extra journeys.
Plan Accommodation Before the Tour
Accommodation is often one of the largest costs in DIY tour planning.
Before booking a show, ask the promoter whether they can provide:
- A hotel room
- A hostel
- A place to sleep at the venue
- Accommodation with a local band member
- A contribution towards lodging
Never assume accommodation is included. Confirm it in writing.
If the band is arranging its own lodging, compare the total cost with the distance to the venue. A cheaper room far outside the city may lead to additional fuel and parking costs.
Create a Daily Food Budget
Small daily purchases can become a major tour expense.
Set a realistic amount per person, per day. Consider:
- Breakfast
- Lunch
- Dinner
- Water
- Snacks for long drives
Ask venues whether a meal or food allowance is included. Bring reusable water bottles and basic food where practical, but do not create a budget that depends on everyone surviving on snacks for several days.
Do Not Forget the Merchandise Float
Merchandise can help a small tour break even, but producing it requires money before the tour begins.
Your merchandise budget may include:
- T-shirts
- Physical music
- Patches
- Stickers
- Card payment fees
- Display materials
- Cash for giving change
This starting money is sometimes called a merchandise float. Keep it separate from the band’s normal daily spending so you know how much the merchandise actually earns.
Create a Simple Tour Budget Table
A basic budget might look like this:
| Expense | Estimated Cost |
|---|---|
| Fuel | €220 |
| Tolls and parking | €80 |
| Accommodation | €300 |
| Food | €250 |
| Merchandise production | €250 |
| Emergency reserve | €150 |
| Total estimated cost | €1,250 |
If the tour has five shows, the band needs to earn an average of €250 per show to cover a total cost of €1,250.
That income could come from:
- Performance fees
- Ticket splits
- Merchandise sales
- Travel contributions
- Food or accommodation provided by promoters
Step 4: Decide Your Minimum Acceptable Show Terms
Before negotiating dates, decide what your band needs from each show.
This might include:
- A fixed guarantee
- A percentage of ticket sales
- A minimum payment plus a ticket split
- Accommodation
- Food or a buyout
- Fuel support
- No merchandise commission
The right terms depend on the band, the distance, the venue, and the opportunity.
A lower fee may make sense for a strong support slot or a useful new market. However, your band should understand the real cost before accepting it.
Hold the Line on Guarantees
If a promoter agrees to a guarantee, make sure the amount and payment terms are clearly confirmed.
Confirm:
- The total fee
- The currency
- Whether tax is included
- When payment will be made
- How payment will be made
- Whether accommodation or food is included
- Whether the venue takes a percentage of merchandise sales
Do not rely on a vague message such as “we should be able to give you something.” Ask for clear terms before treating the date as confirmed.
Understand Door Splits and Ticket Deals
Some shows offer a percentage of ticket sales instead of a fixed guarantee.
Before agreeing, ask:
- What percentage does the band receive?
- Is the split calculated before or after venue costs?
- Are there minimum ticket sales?
- Are all bands sharing the same percentage?
- When will the final amount be confirmed?
A percentage deal can work well, but only when the calculation is clear.
Step 5: Confirm Every Date in Writing
A date is not fully confirmed because someone said “that should work” in a direct message.
For every show, keep a written confirmation containing:
- Date
- Venue
- City and address
- Promoter contact
- Load-in time
- Soundcheck time
- Doors and stage time
- Set length
- Fee or ticket agreement
- Accommodation
- Food
- Backline
- Merchandise terms
If anything changes, update the confirmation. This reduces confusion when several band members are handling different parts of the tour.
For a complete overview of finding venues and pitching promoters, read How to Book Gigs: The Complete Guide for Unsigned Bands.
Step 6: Check the Whole Route Before Announcing It
Before publishing the tour dates, review the complete route.
Check for:
- Long or unrealistic drives
- Unconfirmed shows
- Missing accommodation
- Two shows that compete for the same audience
- Dates that lose more money than they can reasonably earn
- Border, visa, or equipment requirements
Do not announce dates that are still being discussed. It is easier to delay the announcement than to explain a cancelled show later.
Step 7: Track Income and Expenses During the Tour
Do not wait until the tour ends to work out what the band spent.
Log expenses as they happen, including:
- Fuel receipts
- Tolls
- Parking
- Food
- Accommodation
- Equipment purchases
- Repairs
- Merchandise production
For each show, also record:
- Performance fee
- Ticket income
- Merchandise sales
- Show-specific expenses
- Payment still owed
This makes it much easier to see which shows made money and which ones created a loss.
Why You Should Keep Every Receipt
Receipts help your band understand its actual spending and prepare accurate financial records.
Use a simple system:
- Photograph each receipt immediately.
- Record the amount and category.
- Connect it to the relevant show when possible.
- Keep the original receipt in one envelope or folder.
This is much easier than trying to rebuild the entire tour from bank statements several months later.
Separate Band and Personal Spending
Tour costs become difficult to understand when personal purchases and band expenses are mixed together.
Where possible:
- Use one band account or payment card.
- Agree which expenses the band will cover.
- Record who paid when a member uses personal money.
- Settle reimbursements regularly.
Clear records reduce disagreements and make it easier to divide costs fairly between members.
Use a Per-Show Profit and Loss Calculation
To understand whether a date was financially successful, calculate:
Show income − show expenses = show profit or loss
Show income can include:
- Performance fee
- Ticket share
- Merchandise sales
Show expenses can include:
- Fuel for that section of the route
- Tolls and parking
- Accommodation
- Food
- Merchandise commission
A show that pays a good fee may still lose money if it requires a major detour and an extra hotel night.
For a deeper look at band finances, read our guide to tracking band income, expenses, and show profit.
Plan for Unexpected Tour Costs
Even a well-planned tour can face unexpected expenses.
Common problems include:
- A tyre or van repair
- A cancelled show
- A last-minute hotel
- Lost or damaged equipment
- Higher fuel prices
- Extra baggage or transport fees
Add an emergency reserve to your budget. Do not treat this money as available profit unless the tour finishes without needing it.
Ways to Improve Tour Income
Reducing costs is important, but your band should also look for realistic ways to increase income.
Bring the Right Merchandise
Choose products that are easy to transport and suitable for your audience. Clearly display prices and provide more than one payment option where possible.
Promote Each Date Locally
Do not rely only on the promoter. Share the show, tag the venue and other bands, and create content for the city you are visiting.
Ask About Support From the Promoter
A promoter who cannot offer a higher fee may still be able to provide accommodation, food, parking, or help with local promotion.
Avoid Unnecessary Detours
A show with a small payment may still work if it is directly on the route. The same show may become a loss if it adds several hundred kilometres.
Manage Tour Expenses With Band Social Booking
Band Social Booking gives bands one place to manage tour dates, venues, income, and expenses.
You can use it to:
- Store confirmed and upcoming tour dates
- View shows in a list, calendar, or map
- Record show fees and merchandise sales
- Log fuel, travel, accommodation, food, gear, and other expenses
- Connect expenses to specific shows
- Split costs between band members
- Compare revenue, expenses, and net income
- Review profit or loss for each show
Explore the tour and expense tools on the Band Social features page.
DIY Tour Planning Checklist
Before leaving, confirm that you have:
- A clear tour goal
- A logical geographical route
- Realistic drive times
- A complete tour budget
- Estimated fuel and toll costs
- Confirmed accommodation
- A daily food budget
- A merchandise float
- Written show confirmations
- Clear guarantees or ticket deals
- An emergency reserve
- A system for saving receipts
- A way to track income and expenses
Frequently Asked Questions About DIY Tour Planning
How many dates should a first DIY tour have?
A short run of three to five dates is often a good starting point. It allows your band to test the route, costs, and workload before planning something longer.
How far should a band drive between shows?
There is no perfect distance, but the drive should leave enough time for delays, food, rest, load-in, and soundcheck. Shorter drives usually make the tour cheaper and less exhausting.
How much money should a band save before touring?
Your band should have enough to cover the full estimated tour cost plus an emergency reserve. Do not build the plan around uncertain ticket or merchandise income.
Should a band accept a show without a guarantee?
It depends on the opportunity, route, and expected costs. A door split may work for a local show or strong support slot, but the band should understand the financial risk before accepting.
How do bands split tour expenses?
Agree on the method before the tour. Costs can be paid from band income, split equally, or recorded according to who paid and reimbursed later.
Can a small DIY tour make money?
Yes, but it requires sensible routing, controlled spending, fair show terms, and good merchandise sales. For many developing bands, breaking even is already a successful result.
Plan the Route Before You Book the Road
The most important part of learning how to plan a DIY tour is understanding that every date affects the rest of the route.
A show is not valuable simply because it has been offered. It needs to make sense geographically, financially, and strategically.
Build a compact route, create a realistic tour budget, confirm every agreement in writing, and record expenses as they happen. This gives your band the best chance of finishing the tour with stronger connections, useful experience, and money still in the account.
Run your band on Band Social
Publishing, scheduling and press kit with Social; venues, outreach and tour money with Booking.
Start free